Step-by-Step Mould Removal
Posted on 10/10/2025
Mould is a type of fungus that thrives in damp and humid conditions. It can pose serious health risks, including respiratory issues, allergic reactions, and worsening of asthma symptoms. Knowing how to effectively remove mould from your home is crucial for maintaining a healthy living environment. This article provides a comprehensive step-by-step guide to mould removal.
Tools and Materials You Will Need
Before you start the mould removal process, gather the following tools and materials:
- Protective gear (gloves, masks, goggles)
- Scrub brush or sponge
- Bucket
- Detergent
- Bleach or vinegar
- Dehumidifier or fans
- Plastic sheeting
- Sealant

Step-by-Step Mould Removal Process
1. Wear Protective Gear
Mould can release spores into the air, which can be harmful when inhaled. Protect yourself by wearing gloves, a mask, and goggles.
2. Isolate the Area
Seal off the affected area using plastic sheeting to prevent the mould spores from spreading to other parts of your home.
3. Identify and Fix the Source of Moisture
Mould thrives in moist environments. Identify the source of moisture, such as a leaky pipe or roof, and fix it to prevent future mould growth.
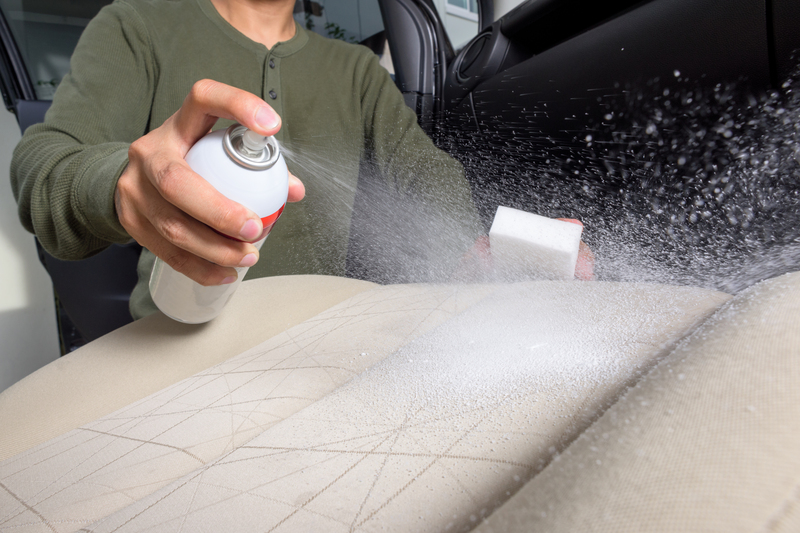
4. Clean the Affected Area
Mix a solution of detergent and water in a bucket. Use a scrub brush or sponge to clean the mould off the surface.
Using Bleach
For non-porous surfaces, mix one cup of bleach in a gallon of water. Apply the solution to the mouldy area and scrub the surface. Leave the solution for 15 minutes, then rinse with clean water.
Using Vinegar
For a natural alternative, use undiluted white vinegar. Spray the vinegar directly onto the mouldy surface and let it sit for an hour. Wipe the area with a damp cloth and dry thoroughly.
5. Dry the Area
Ensure the cleaned area is completely dry. Use fans or a dehumidifier to speed up the drying process. Mould can quickly re-establish itself if the area remains damp.
6. Prevent Future Mould Growth
Apply a sealant to the cleaned area to prevent future mould growth. Regularly check and maintain the area to ensure it remains dry and clean.
Pros and Cons of DIY Mould Removal
Pros
- Cost-effective compared to hiring professionals
- Immediate action can prevent mould spread
- Personal control over the cleaning process
Cons
- Health risks if not properly protected
- May not fully eradicate mould, leading to recurrence
- Time-consuming and labor-intensive
Tips for Effective Mould Removal and Prevention
- Always address the source of moisture first.
- Use a HEPA vacuum cleaner to remove mould spores from the air.
- Ventilate areas regularly to reduce humidity.
- Consider using a humidity sensor to monitor humidity levels in your home.
Takeaways
- Properly assess the extent of mould contamination to determine the best removal method.
- Protect yourself with appropriate gear to minimize health risks.
- Always fix the underlying cause of moisture to prevent mould from recurring.
- Regular maintenance and vigilance can help keep your home mould-free.
Conclusion
Mould removal is an essential task for maintaining a healthy home environment. By following the step-by-step guide above, you can effectively remove mould and prevent its return. Remember to prioritize safety, address the root cause of moisture, and take preventive measures to keep your home mould-free. If mould issues persist or are extensive, consider seeking professional help to ensure thorough and effective removal.
Latest Posts
Deep Cleaning: Kitchen Edition
Suede Sofa Cleaning: Home Remedies
Pet-Friendly Carpet Maintenance Guide